
A well-shaped Christmas tree not only looks beautiful but is also easier to decorate! Take the time to shape your tree properly before decorating it. Refer to the “Shaping Instructions” provided with each tree for guidance. Properly fluffing and shaping branches before adding decorations makes a huge difference in appearance and ease of decorating.
A beautifully decorated tree follows a clear plan, usually highlighting one color or a combination of colors for added drama. Decorations should be simple yet distinctive. Follow this traditional decorating sequence for the best results:
- Lights
- Garland
- Feature Trim
- Glass Ornaments
- Tree Top and Skirt
Use the following guide to determine the minimum amount of decorations needed for a fully adorned tree:
| Tree Height | Miniature Lights (Bulbs) | Garland Length | Feature Trim (Pieces) | Glass Ornaments (Pieces) |
|---|---|---|---|---|
| 2′ | 40 | 24′ (2″ wide) | 12 | 15 |
| 3′ | 80 | 30′ (2″ wide) | 18 | 24 |
| 4′ | 100-120 | 48′ (2-3″ wide) | 24 | 36 |
| 6′ | 200-240 | 72′ (3″ wide) | 36 | 38 |
| 7′ | 240-320 | 84′ (3-4″ wide) | 60 | 72 |
| 8′ | 320-360 | 96′ (3-4″ wide) | 72 | 96 |
Step-by-Step Instructions:
1. Lights
Start by attaching the lights at the top of the tree, working your way down to the bottom. This ensures that the plugs are easily accessible for an extension cord. Place each light near the end of a branch to outline the tree’s shape. Try placing some lights deeper inside the tree for a layered glow effect. If you’re using larger lights, you may need fewer since they are brighter and more decorative. For the best effect, use a consistent light style. If you haven’t already, consider replacing your old lights with LED equivalents. They use far less energy and are considered to pose less of the fire risk.
2. Garland
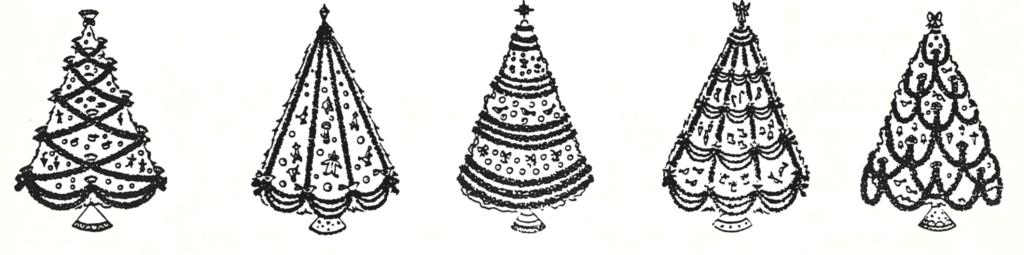
Garland, whether tinsel or bead chains, helps outline the tree’s shape and forms the base for the rest of the decorations. Begin at the bottom row of branches, twisting the garland around each branch’s end to keep it secure. See some suggested garland patterns. Have fun with it.
3. Glass Ornaments
Place glass ornaments in coordinated colors starting deep within the tree branches. By placing some bulbs deep within the tree, you create depth and maximize the tree’s color scheme. Position the largest ornaments at the bottom and the smallest at the top adds balance and additionally enhances the color scheme and silhouette.
4. Trim
Next, hang the feature trim items at the points crested by the garland , giving the tree distinctive uniformity. Always use ornament hooks to hang your feature trim pieces.
5. Tree Top and Skirt
Complete your tree by adding a topper that complements your primary decorations or glass ornaments. Finally, place a tree skirt at the base that highlights the main color of your tree’s decorations.
As you bring your holiday vision to life, remember that decorating is just the beginning of a joyous season. Keep an eye out for our upcoming posts, where we’ll be sharing more tips, tricks, and tonics to help you keep your holiday green, vibrant, and filled with cheer. From preserving your tree’s freshness to enhancing its sparkle, we’re here to ensure your celebrations are as magical as they are memorable. Stay tuned for all the insights to make your season truly merry and bright!
Discover more from Jerry Baker's Whats Growin' On
Subscribe to get the latest posts sent to your email.